xAgent Model Configuration: Providers, Tool Calling, and Task Routing
Version scope: current-field and behavior corrections below were checked against source
43d2698on 2026-10-01. Older public binaries may differ; verify your installed version before following a changed UI or operation.
Who This Is For
This page is for administrators and maintainers. Ordinary users do not usually need to open Model Configuration.
Entry: Admin console > System config > Model config (/admin/models). Configure role assignments separately at /admin/config/agent-roles; ordinary users use configured models in Sessions.
What It Is
Model Configuration maintains the models xAgent can use. Administrators configure the display name, service address, key, capability switches, and default policy here. Once configured, ordinary users can use the models in a session without filling in these details themselves.
The model configuration page is open in the current release to make deployment, testing, and evaluation easier. It is a transitional entry point, not the final long-term model experience.
The unified model management and automatic routing described here are future direction, not an automatic-selection guarantee of the current page. As the built-in Agent “brain” capability matures, model selection is intended to move toward unified model management. xAgent will not be limited to one model or one provider. Different models have different strengths: fast summaries, complex reasoning, tool collaboration, image understanding, or file understanding.
xAgent will keep optimizing model routing through ongoing testing and real usage. It will consider task type, cost, speed, Tool collaboration requirements, and context when choosing a better model combination for the current task. Ordinary users do not need to choose a specific model; they only need to state the task goal.
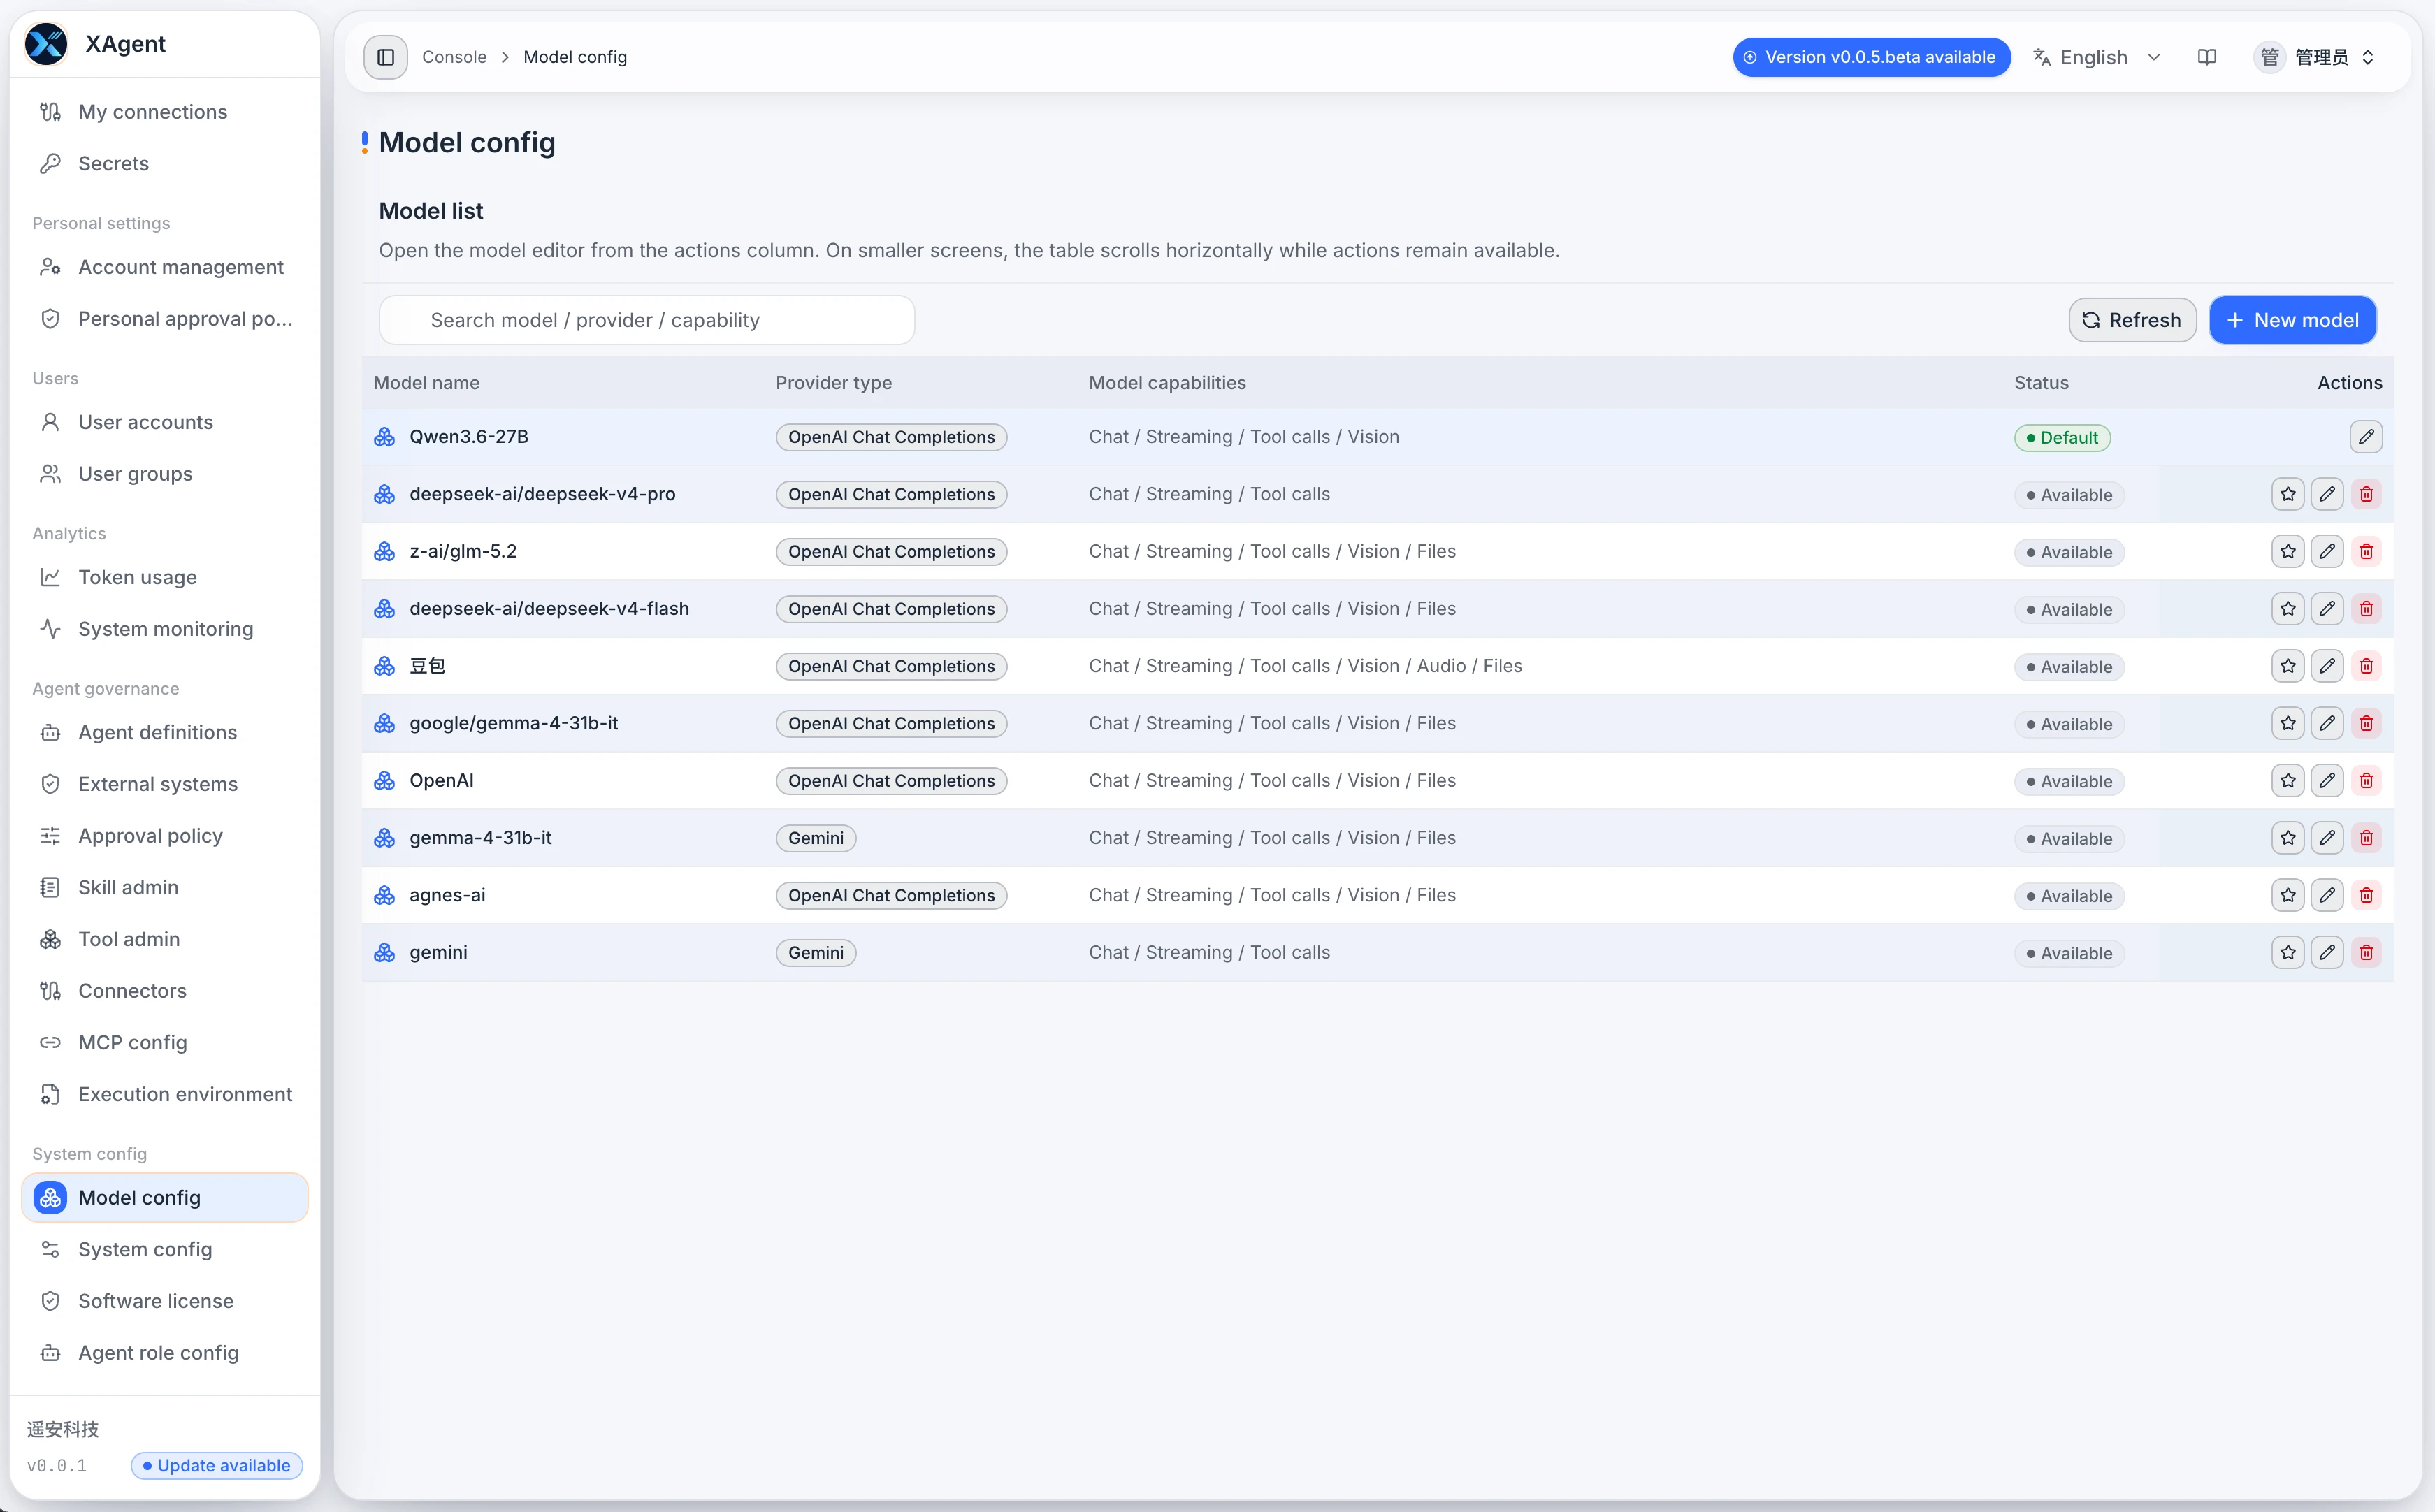
Screenshot note: This
v005image shows the former side-by-side layout. The current page uses a model table with a create/edit drawer. Image generation now uses a separate Provider and cannot be enabled on a chat model by following the old image.
When to Use It
Open this page when you need to:
- Add an available model after initial deployment.
- Change a model service address, key, or actual model name.
- Test whether a model can connect.
- Adjust whether a model supports chat, image generation, image or file input, audio, and Tool calling.
- Prepare different models for different task types.
Reading the Page
Select create or edit in the model list to open its configuration drawer. The list also provides connection testing, setting a default, and applicable deletion actions. Common fields include:
| Field | Purpose |
|---|---|
| Model name | The name displayed in xAgent |
| Actual model name | The identifier used by the Provider |
| Upstream model options | OpenAI-compatible Providers load and filter the upstream catalog using the connection draft; manual IDs remain available. This is distinct from the user-facing /api/models list of configured models |
| Provider type | The model service type |
| Base URL | The model service address |
| API Key | The model service key |
| Request timeout | The maximum wait time for one request |
| Maximum concurrency | Concurrent requests for this model configuration; align with upstream limits and server capacity |
| Context limit and max output | Set to the upstream model's actual limits to keep request budgets within its window |
| Reasoning and thinking | Configure reasoning effort, thinking controls, thinking tokens, and temperature only when supported |
| Description | A usage note for administrators |
| Model capabilities | Chat Providers configure chat, Tool calling, vision, audio, and files; a dedicated image-generation Provider declares image generation only |
| Default policy Raw JSON | Advanced default policy settings |
| HTTP Headers | Additional request headers |
Ordinary users do not need to understand these fields. Administrators only need to ensure that the model connects, its capability switches are accurate, and its description is clear.
Choose the Correct Provider First
The current Provider list includes OpenAI Chat Completions, OpenAI Responses, OpenAI Images, Gemini, and Anthropic. The first two are different chat protocols; choose the actual upstream interface rather than inferring it from the service name.
OpenAI Images uses a dedicated image-generation protocol:
- It cannot be the default chat model and does not use the chat or streaming-output path.
- Assign the corresponding model to Image Generation Agent in Agent Role Config.
- Its request policy can hold supported
size,quality, andoutput_formatparameters; the system sets the prompt, model, and single-image count.
Vision input and image generation are different capabilities. A model’s ability to understand an image does not mean it can generate one.
Basic Usage
Add a Model
- Select New Model.
- Enter the display name.
- Enter the actual model name.
- Select the Provider type.
- Enter the Base URL and API Key.
- Select the capabilities the model actually supports.
- Select Test Connection.
- Select Create after the test succeeds, or Save current model when editing an existing model.
Name models by their use case, such as “General Writing Model,” “Code and Tool Model,” or “Lightweight Fast Model.” Avoid internal abbreviations that ordinary users cannot understand.
Since v0.0.18.beta, OpenAI-compatible Providers can list upstream model candidates while preserving manual IDs. Context limits, output size, and thinking parameters have dedicated fields; other Provider-specific options remain in Raw JSON. Do not send unsupported parameters to a model. Session usage prefers measured Provider values and estimates only when the Provider omits them.
Test the Connection
Test before saving. If it fails, check:
- Whether the Base URL is correct.
- Whether the API Key is valid.
- Whether the actual model name exists.
- Whether the Provider type is correct.
- Whether the current server can reach the model service.
- Whether the request timeout is too short.
Connection testing sends a request using the current draft. It does not mean the draft has been saved or every declared capability has been verified. After saving, test a normal chat, one controlled Tool call, and any required image/file input separately; test image generation separately as well.
Configure Capability Switches
Configure switches according to the model's real capabilities. Do not enable every capability just to make a model look stronger.
| Capability | Effect |
|---|---|
| Chat | Whether it can be used for regular conversation and tasks |
| Image generation | Dedicated OpenAI Images configuration and the image-generation role support image_generate; this is not an optional chat-Provider switch |
| Vision | Whether it can process image input |
| Audio | Whether it can process audio input or output |
| Files | Whether it can process file input |
| Tool calling | Whether it can work with Tools to perform actions |
Streaming output remains runtime behavior that should be tested when connecting a model, but it is no longer a model capability switch.
Current chat models use text output; saving removes native structured-output fields. Raw JSON is not a way to bypass Provider compatibility or product constraints.
A model without Tool calling is not appropriate for tasks that need file reading, external system calls, or concrete actions.
Administration Recommendations
- The current configuration page is a transitional capability for deployment validation and model integration. Do not treat it as the final model-governance interface.
- Prepare at least one stable general-purpose model for ordinary tasks.
- Prepare a Tool-calling model for tasks that need Tools.
- Prepare a lightweight model for cost-sensitive tasks.
- Do not bind system capability to one Provider. Different models suit different tasks, and model routing will continue to improve based on test results.
- Write model descriptions for administrators and users, not only with Provider-internal details.
- Never expose an API Key in screenshots, documentation, chat messages, or commit history.
- Before changing a public model, confirm whether it will affect active sessions.
Continue Reading
- How AI Agents Switch Models, Skills, and Prompts During a Task
- Agent Session
- Agent Management
- Tool Management
- Approval Policies